Showing posts with label diy. Show all posts

Friday, September 23, 2011

Nursing cover

 These were too easy to make! They have beautiful ones for sale but they are so expensive! Or the ones I found that I could afford I  hated the pattern! I made TWO of these for about $25 for everything! So, you need:

~ 3/4 yard two fabrics that you like. If you do not want two layers of fabric you can buy one. I suggest a lightweight cotton.
~ thread to match
~ 1 foot of boning wire. This is boning that you would put in a prom dress or a corset.
~ a set of 2 D hooks

 First make the drawstring for the neck.
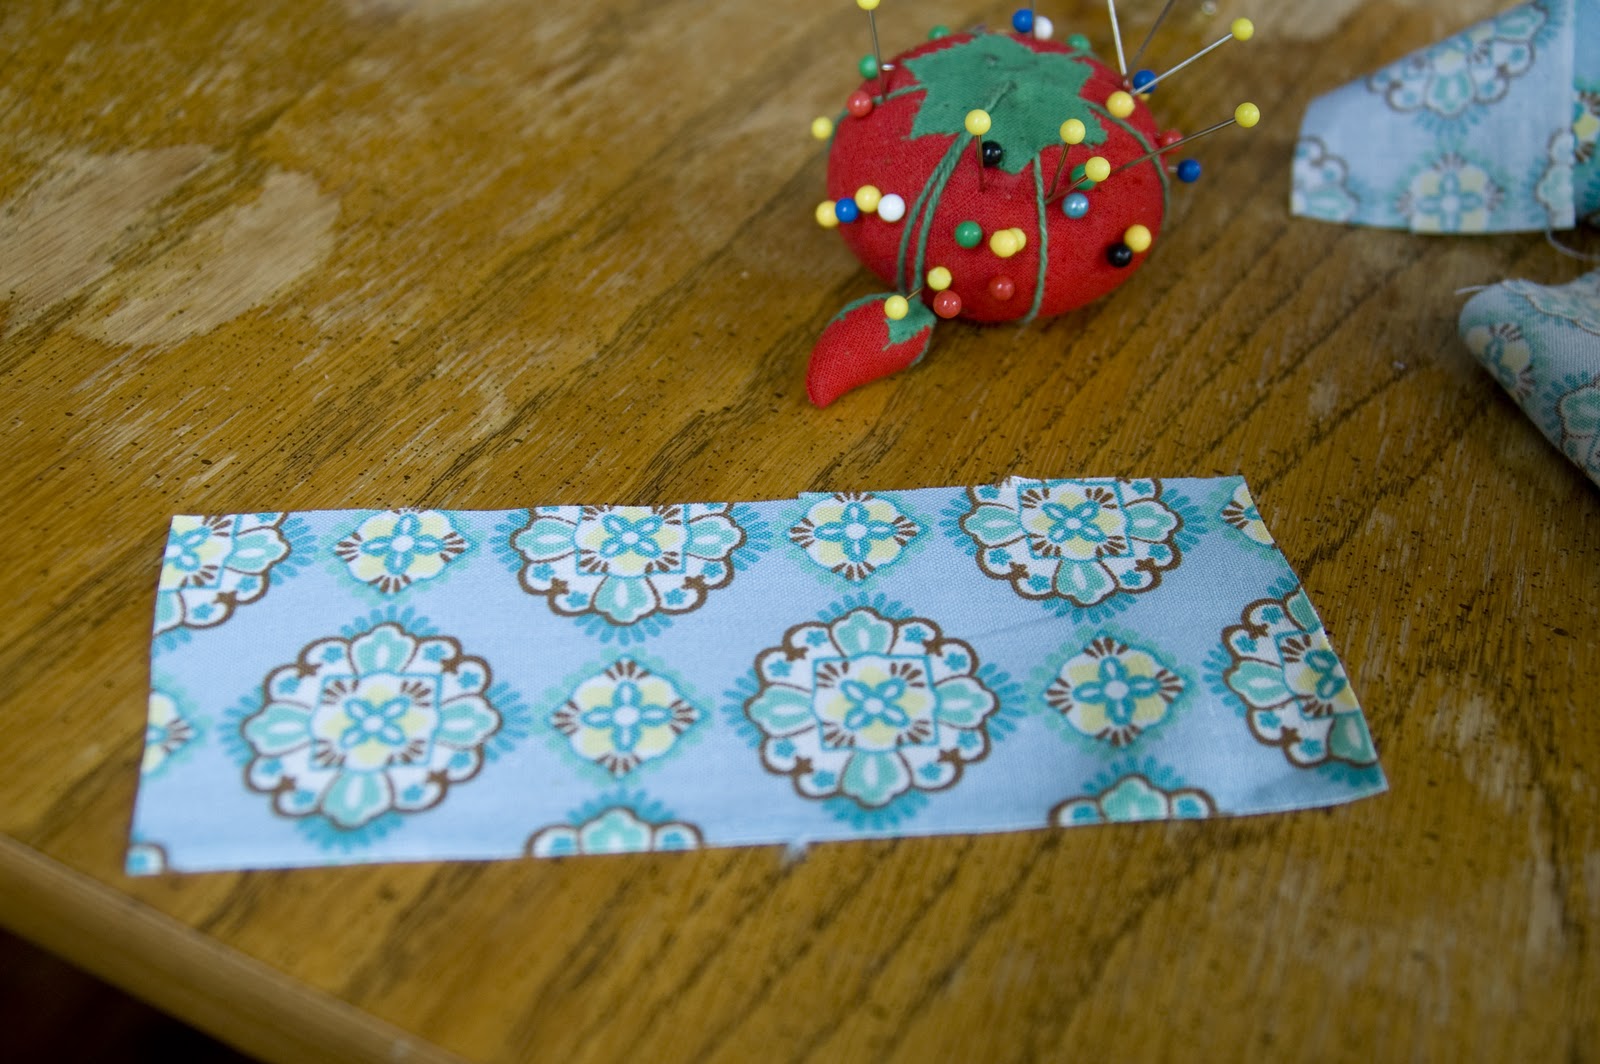
Cut 3'' strip

Fold and pin right sides together. Sew one end closed and down the side. 

 Turn in the end you sewed closed.
 Insert a dowel rod (or something equally thin) into the pocket you have made. Start turning your drawstring right side out onto the dowel rod.
 Pull dowel rod out and pull the rest of the fabric out. Iron.
 Repeat the same process for the loop for the D hook. It will be a 3" by 6" rectangle.

Lay out your two pieces of fabric right sides together
Measure out the center of your fabric and where your drawstring, D hooks and boning are going to be. Position your boning in the center.
 Position the D hooks loop about 1in to the right of where your boning will be. Pin the fabric loop INSIDE your fabric.

If your are not using two pieces of fabric, you can add the loops later or sew your loops into your folded edges.
Repeat the same process for the drawstring (except on the other side of course)
I pinned the excess drawstring on the inside so I wouldn't accidentally sew over it!

This is what you will see when it is pinned. Be sure to take your boning out and set to the side.

Sew around all the edges leaving enough space to be able to flip your cover right side out. 
Thread the boning to the inside of the cover and position it in the center again. Position the plastic side on the top. Sew below the plastic onto the fabric part of the boning.


Iron and your done! A fun project that took about an hour and $25 and I had two beautiful gifts to give to my two lovely pregnant friends!

Thursday, June 16, 2011

A lovely girl's table and chairs

 My husband and I went to visit his family for a couple of weeks. My sister-in-law bought these for her daughter at a garage sale and asked if I could paint them to match her new bed set.

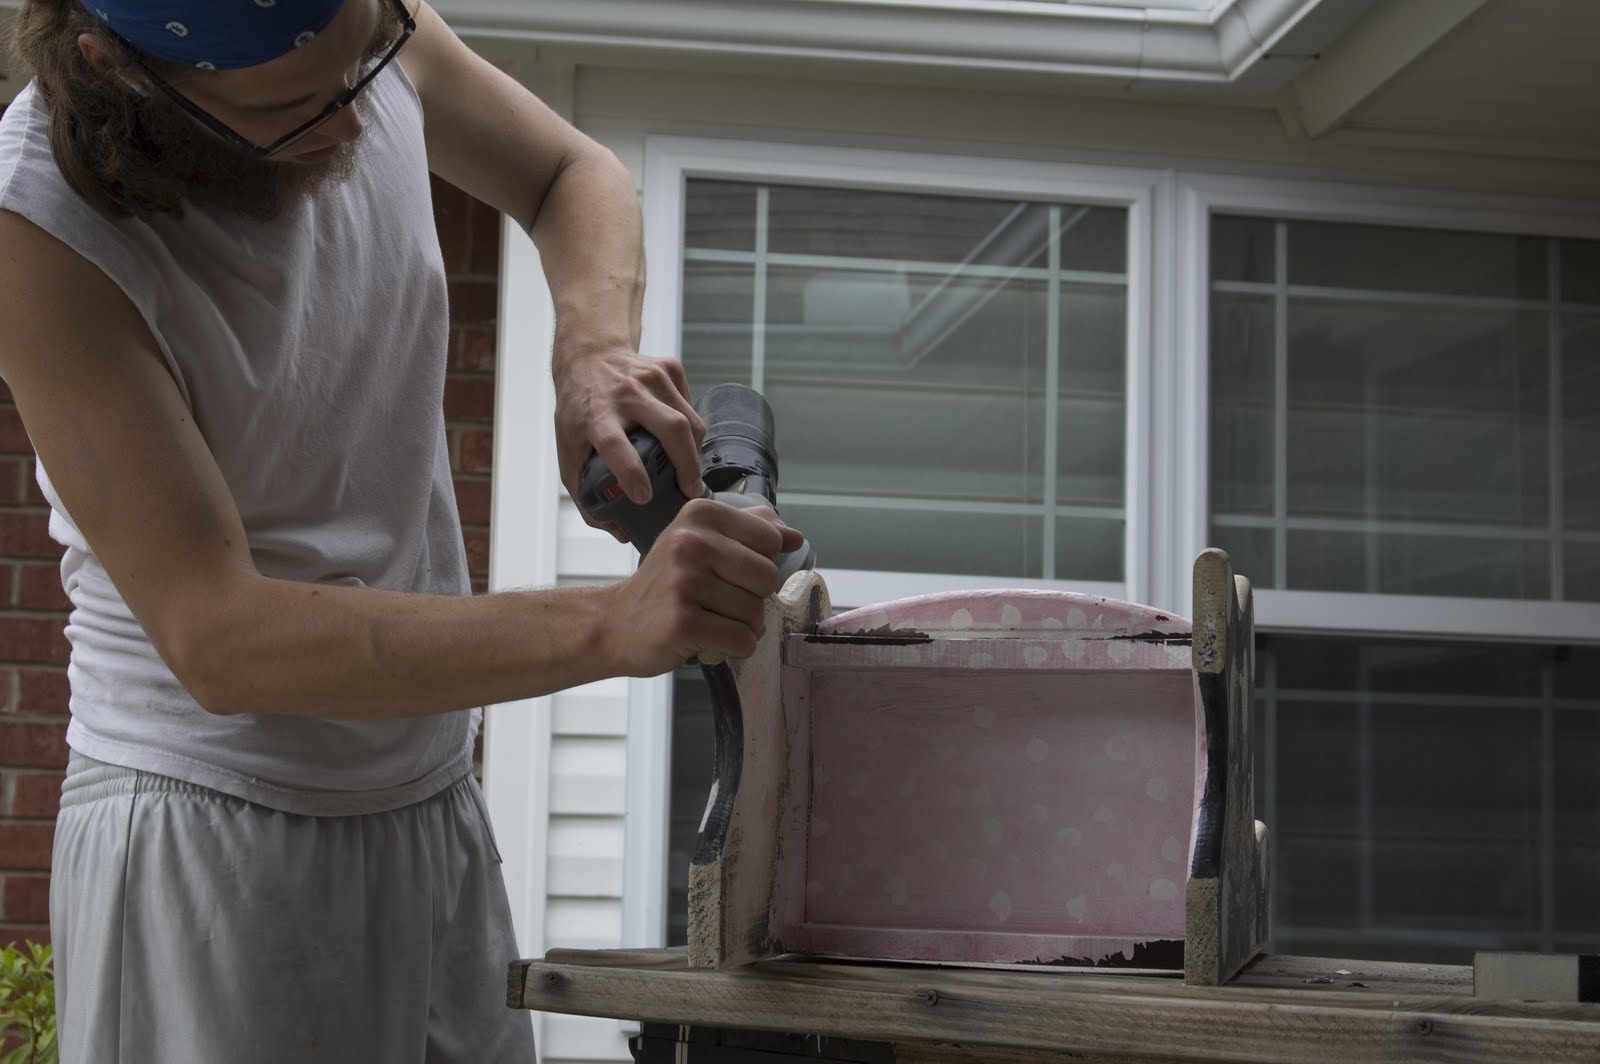
 We sanded through layers of paint and awful decoupage and found this on one of the chairs!  

 This is the finished product. I took some of the patterns from her new bed set and some I made up.


Tuesday, May 24, 2011

Super Awesome Healthy Granola bars

Ingredients:
3 1/2 c old fashioned oats
1/2 c oat bran
1/2 c wheat germ
1T Cinnamon
1 t salt
1 c dried cranberries
1 jar smuckers natural peanut butter (or small jar of pb or your choice)
1c honey
2 c of your favorite mixed nuts
1 c dark chocolate chips

Preheat oven to 350. mix dry and wet ingredients in separate bowls. I did this mainly so you can mix the natural peanut butter with its oils then mix the honey into it.
 Line a large sheet pan with foil. This will make it easier to get the bars out and clean!
 Toast the nuts to bring the flavor out!
 mix all ingredients together. Its good to have a very large bowl and mix gently. Press into the sheet pan and put in oven for 10 min.
 Sprinkle chocolate chips generously over the bars. bake for another 15 min. let set until completely cooled. If you let them chill in the fridge for a few hours or overnight, they are easier to cut. Cut into bars and store in the fridge. They have not lasted long enough in my house to find out if they ever go bad, but I'm sure they stay good for a while.

I found that these fit perfectly in snack size bags individually so you can grab them and go. I also found, when I was developing this recipe, that if you add about half a container of the peanut butter and 1/2- 3/4 c of honey the granola will be crumbly and makes delicious granola for yogurt!

DIY Popcorn Bowls


 what you need:
red and white poster board
scissors
glue
a ruler
pencil
wax paper
 cut your white poster board in half and fold it to form a bowl. i folded it about an inch so you will be able to glue the bowl together. fold it in half and half again so you have four sides.

 cut about 1 in and fold up the bottom. this is so you will have a place to glue the bottom of your bowl to.

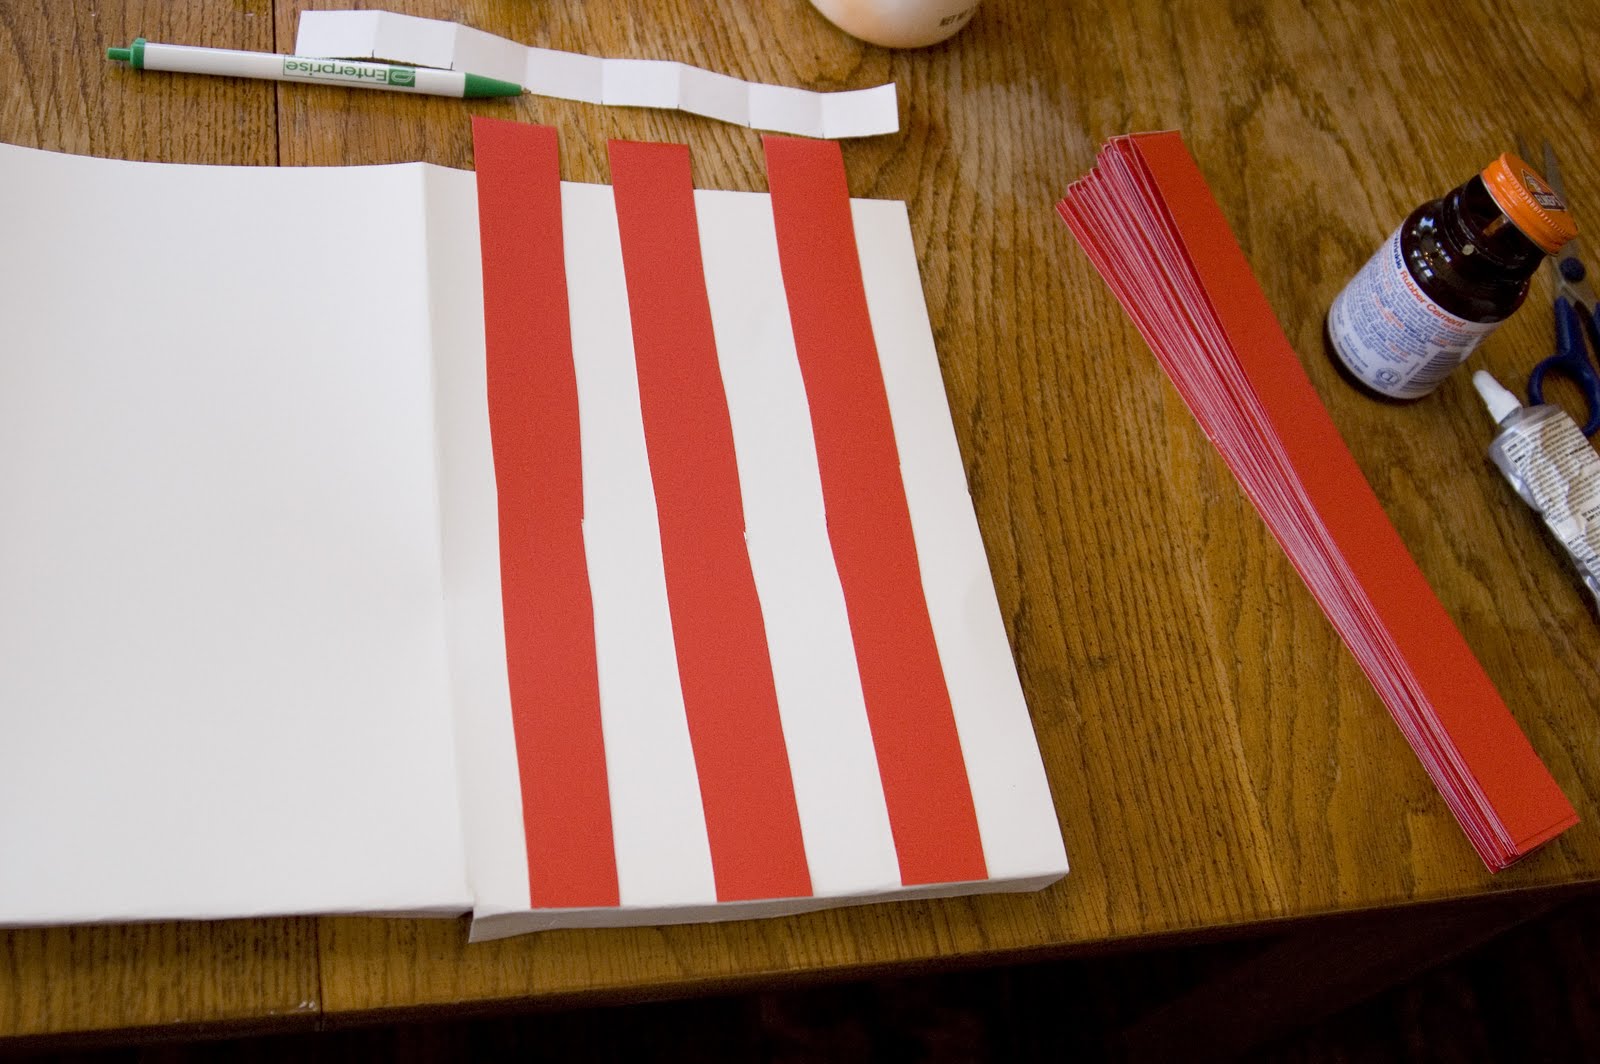
 cut your red poster board into 1 in strips.

 glue your strips onto your white bowl.
 glue wax paper on the inside of the bowl.

 measure the bottom of your bowl and cut a square to make the bottom. glue wax paper on this as well.
 with your scalloped scissors, cut the top of your bowl. make sure to have the rounded part facing up.
 glue your bowl together. glue the 1" edge together and the corners where your bottom flaps touch. put glue on the flaps and put your bottom down wax paper side up.


 here is your finished bowl. I made signs for what kind of popcorn was in the bowls.