These were too easy to make! They have beautiful ones for sale but they are so expensive! Or the ones I found that I could afford I hated the pattern! I made TWO of these for about $25 for everything! So, you need:
~ 3/4 yard two fabrics that you like. If you do not want two layers of fabric you can buy one. I suggest a lightweight cotton.
~ thread to match
~ 1 foot of boning wire. This is boning that you would put in a prom dress or a corset.
~ a set of 2 D hooks
First make the drawstring for the neck.
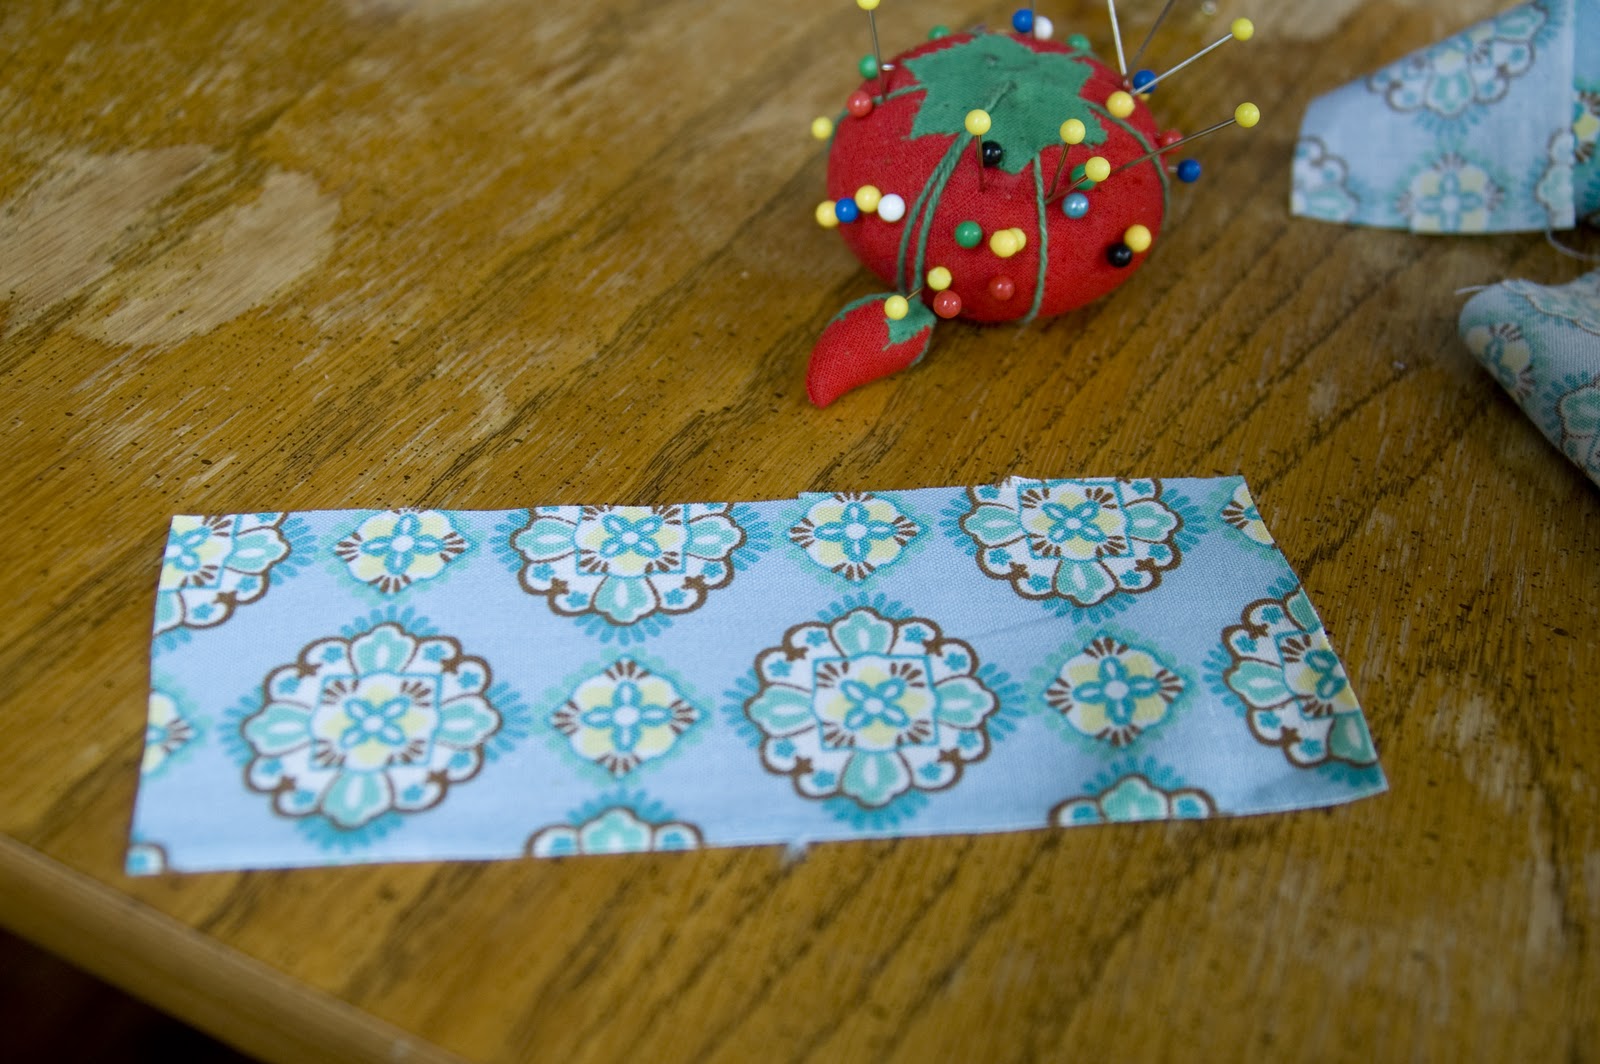
Cut 3'' strip

Fold and pin right sides together. Sew one end closed and down the side.
Turn in the end you sewed closed.
Insert a dowel rod (or something equally thin) into the pocket you have made. Start turning your drawstring right side out onto the dowel rod.
Pull dowel rod out and pull the rest of the fabric out. Iron.
Repeat the same process for the loop for the D hook. It will be a 3" by 6" rectangle.
Lay out your two pieces of fabric right sides together
Measure out the center of your fabric and where your drawstring, D hooks and boning are going to be. Position your boning in the center.
Position the D hooks loop about 1in to the right of where your boning will be. Pin the fabric loop INSIDE your fabric.
If your are not using two pieces of fabric, you can add the loops later or sew your loops into your folded edges.
Repeat the same process for the drawstring (except on the other side of course)
I pinned the excess drawstring on the inside so I wouldn't accidentally sew over it!
This is what you will see when it is pinned. Be sure to take your boning out and set to the side.
Sew around all the edges leaving enough space to be able to flip your cover right side out.
Thread the boning to the inside of the cover and position it in the center again. Position the plastic side on the top. Sew below the plastic onto the fabric part of the boning.
Iron and your done! A fun project that took about an hour and $25 and I had two beautiful gifts to give to my two lovely pregnant friends!


 Fold and pin right sides together. Sew one end closed and down the side.